
Updated
Deploy Supabase in minutes with Diploi, with PostgreSQL preconfigured, and DevOps not required.
Supabase is an open-source alternative to Firebase, which offers an instant Postgres database, authentication, storage, and more. With Diploi, you can get Supabase up and running in a fully-managed cloud environment, with no local setup or manual server configuration.
In this post, we’ll walk through getting started with Supabase on Diploi, deploying it to production, and adding a custom domain.
Table of contents
- Getting started with Supabase on Diploi
- Launching your Supabase project to Production
- Configuring a custom domain for your Supabase project
- Trying out Supabase for the first time?
- References
Getting started with Supabase on Diploi
What you need
- A GitHub account
- A Diploi account
Signing up in Diploi is free, and does not require credit card.
How to create a Supabase project
After signing in:
-
Click Create Project + in your Dashboard

-
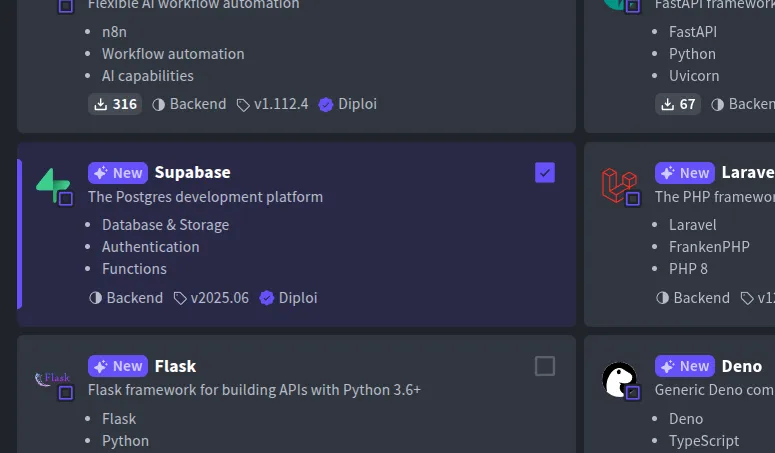
Under Pick Components, select Supabase
-
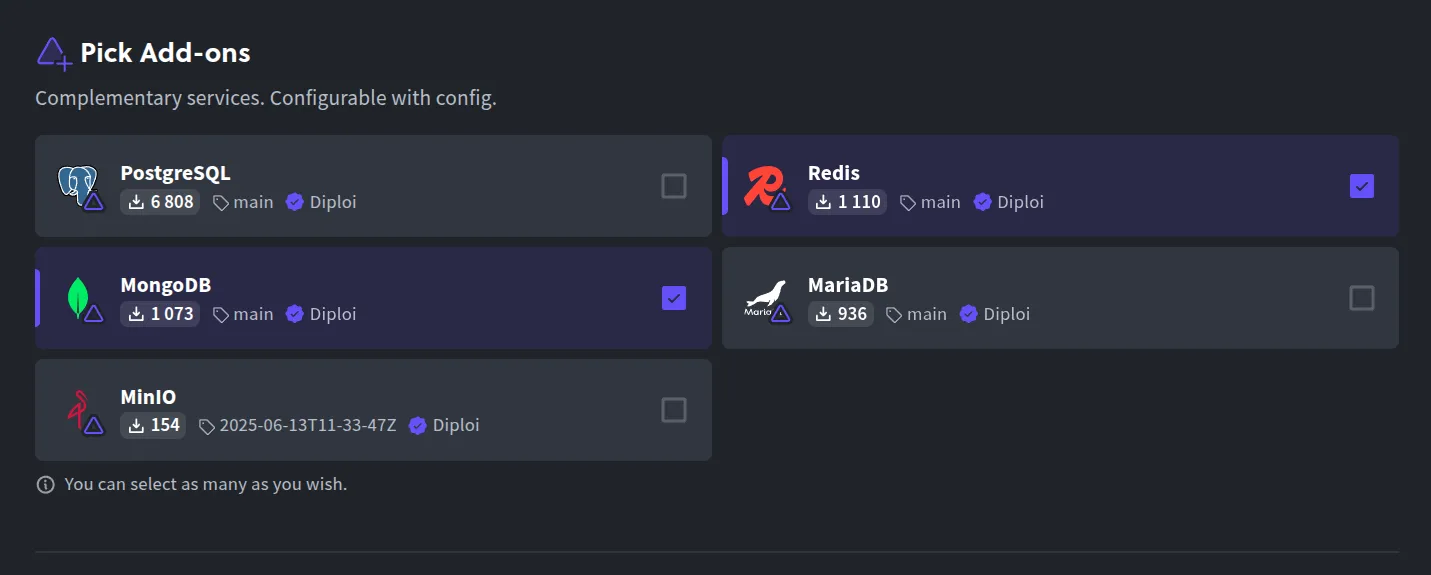
Optionally attach any Add-ons (like Redis, etc.). PostgreSQL is already included by default
-
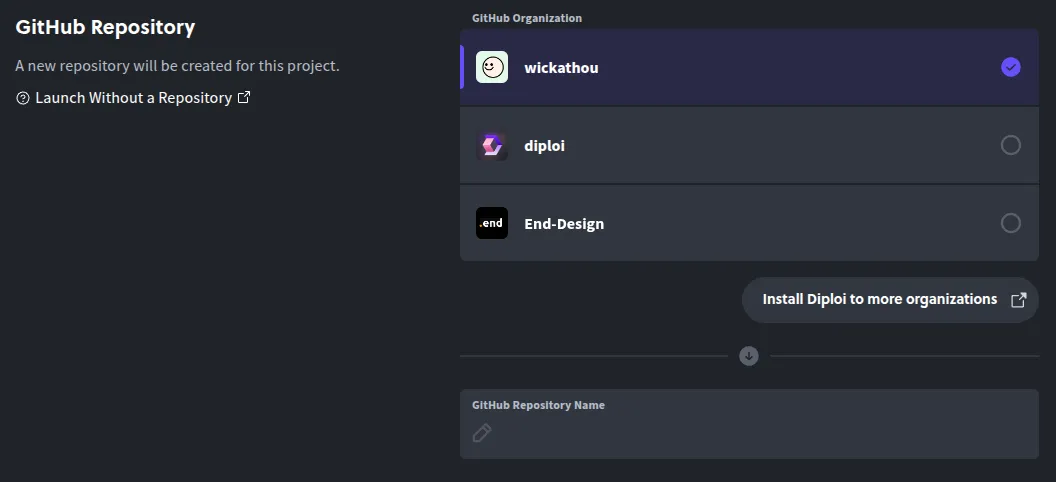
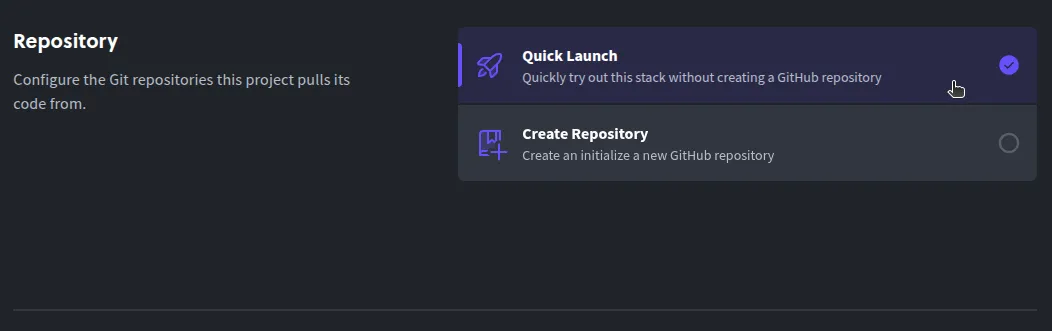
Under Repository, choose Create Repository so Diploi scaffolds a GitHub repo for you
-
Click Launch Stack to start your environment

This will:
- Scaffold your app with a GitHub repo
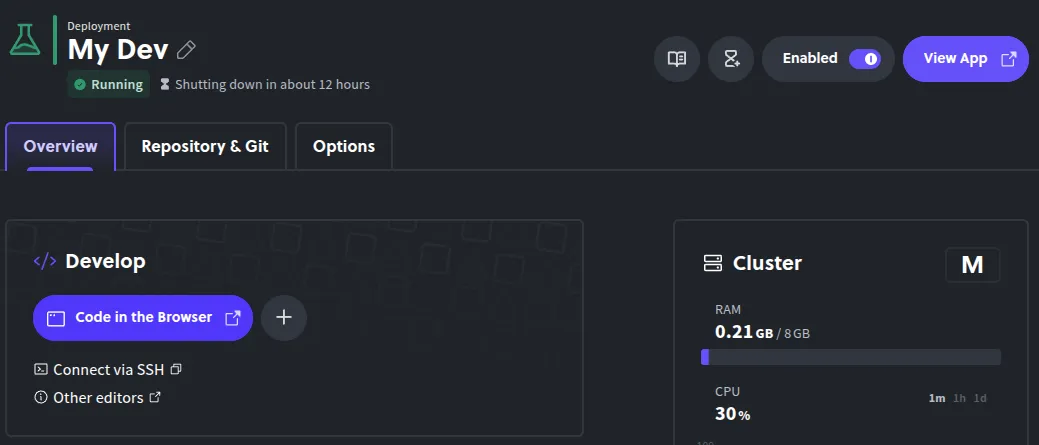
- Start a Remote Development environment where you can create custom Supabase Functions
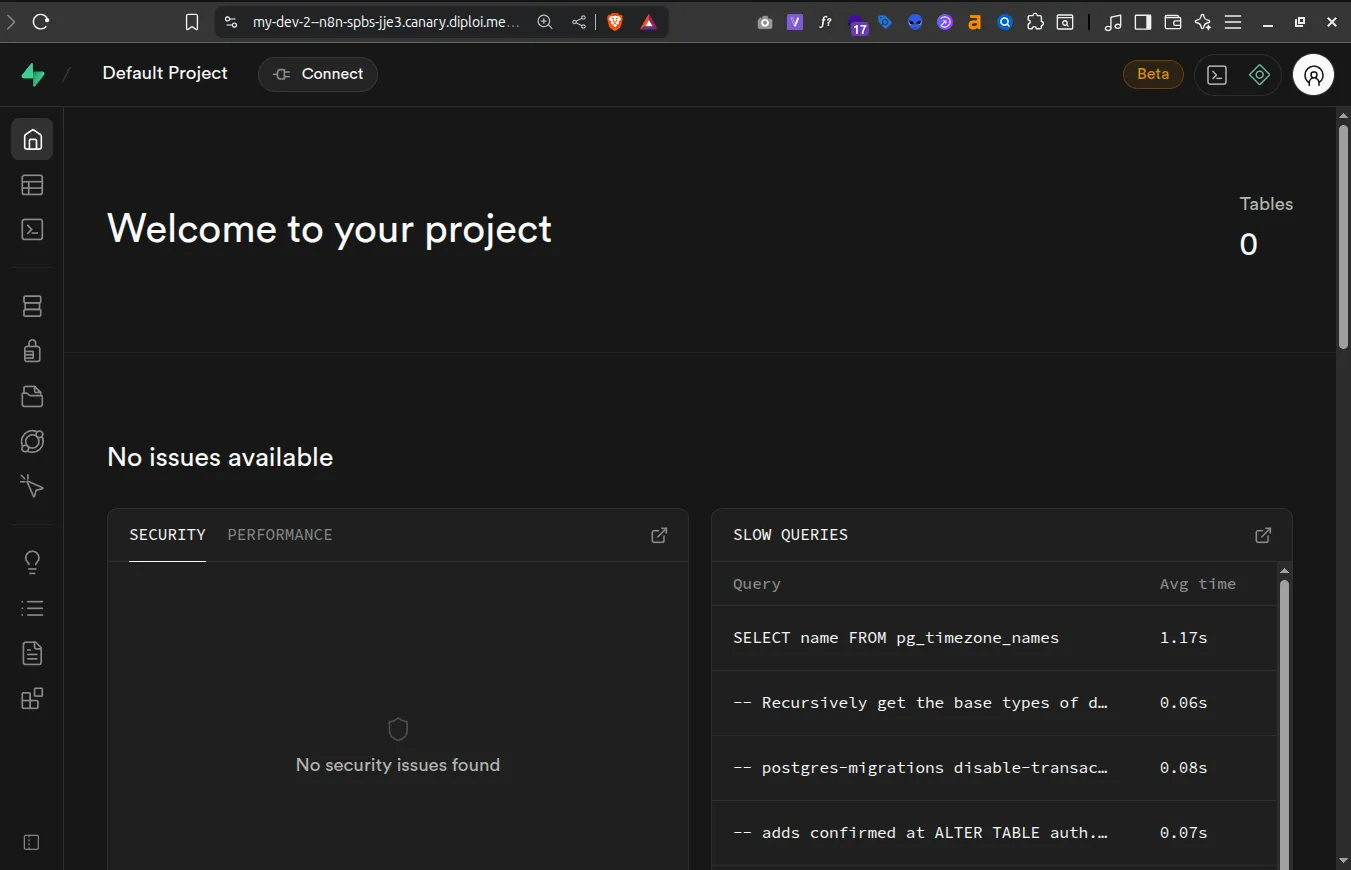
- Launch a live preview URL where you can test Supabase right away
- Allow you to manage ENV variables from the
optionstab
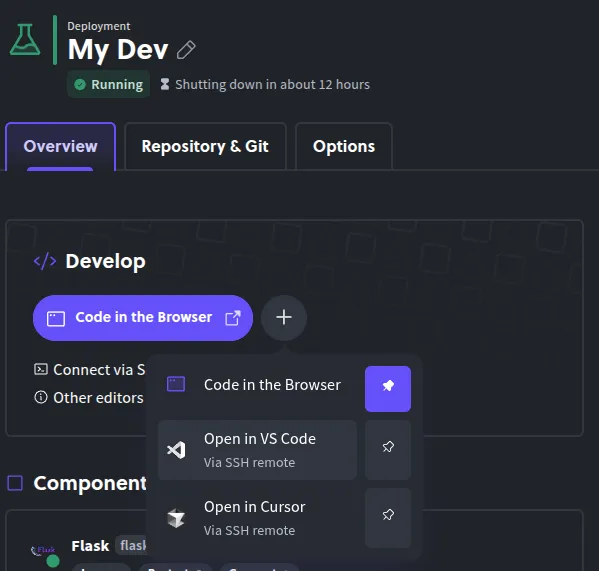
To access the Remote Development environment, you can:
-
Use the browser IDE:
-
Or connect via SSH using your local editor:
When you access the live version of Supabase, you’ll be able to manage your Supabase instance.
Launching your Supabase project to Production
If you are developing a full-stack app or creating custom Supabase Functions, once you are ready to start using your application in production, all you need to do is this:
-
Push changes to GitHub
-
Open your project dashboard in Diploi
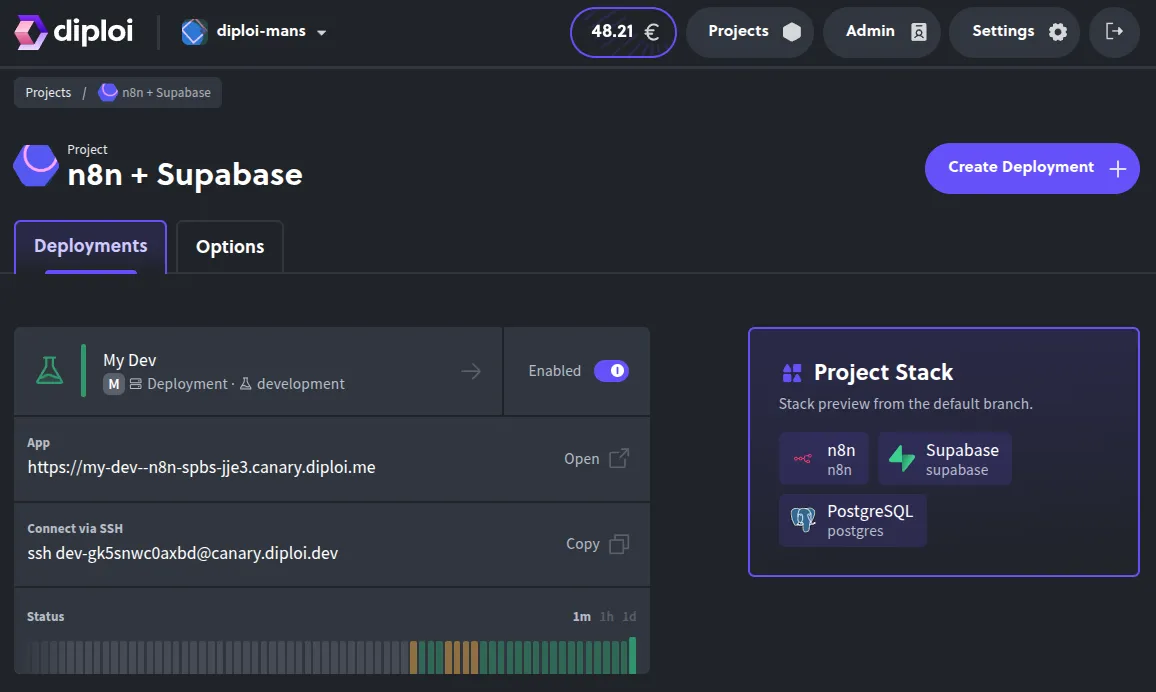
-
Click Create Deployment + and select Production as the stage
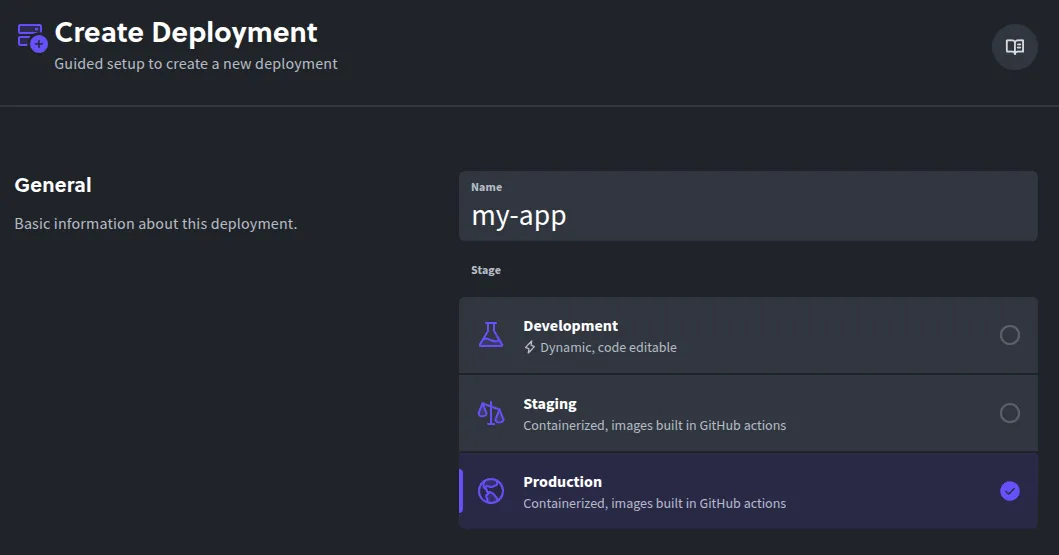
-
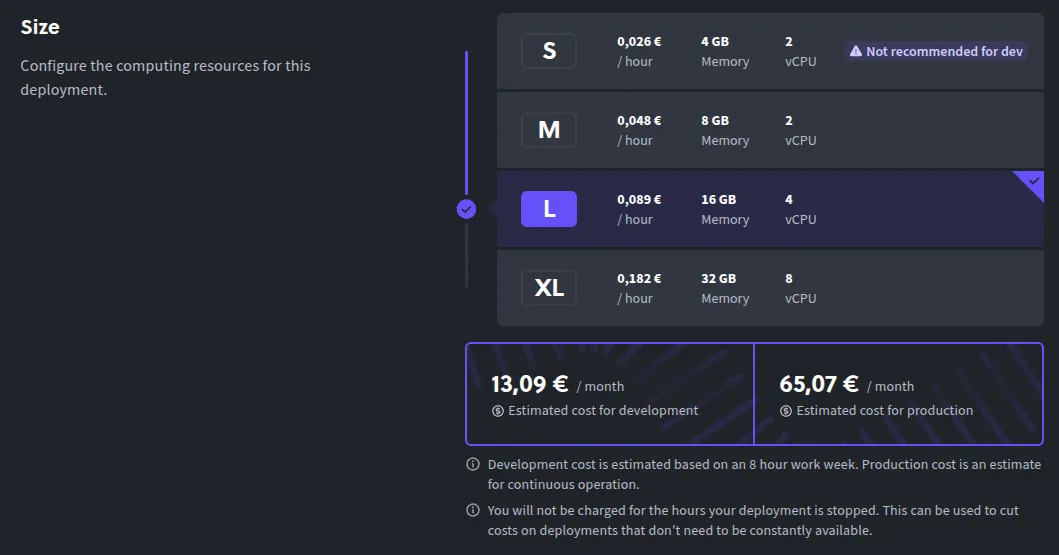
Choose a cluster size
-
Select the Git branch that you’ll use for production (e.g.
main)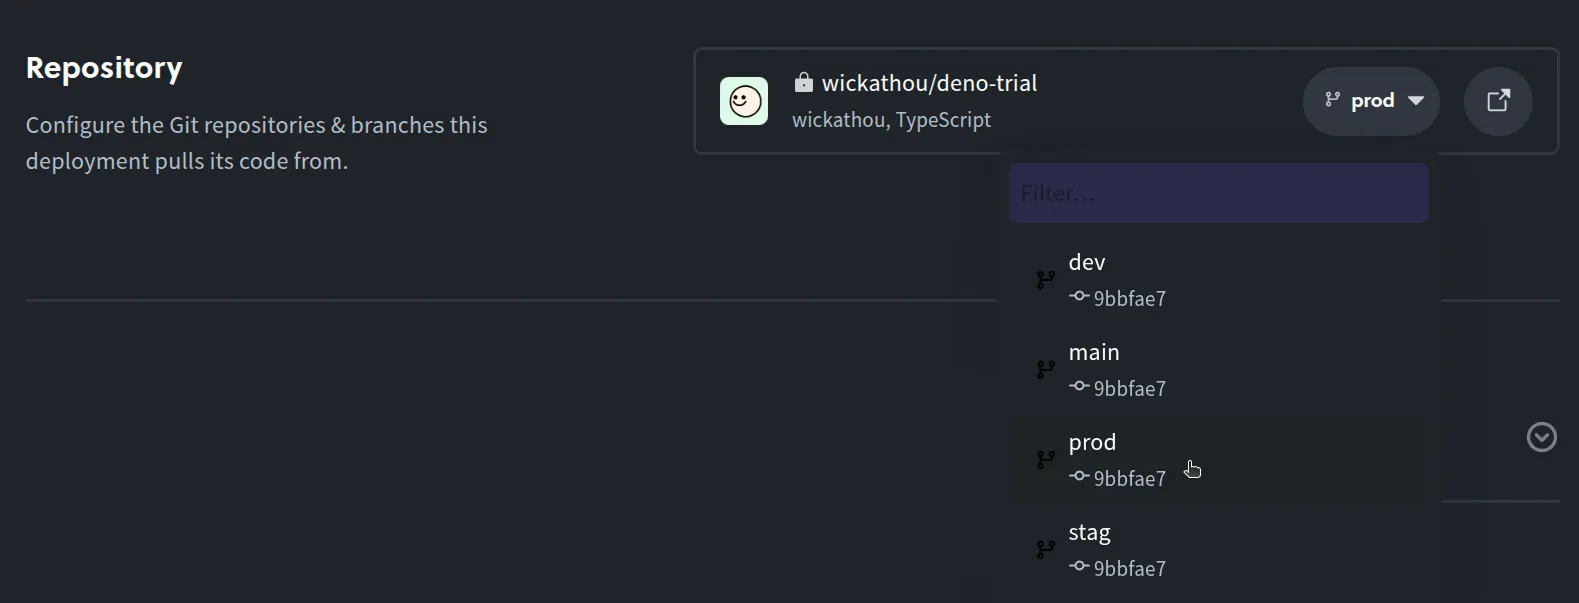
-
Configure any environment variables your Supabase app needs
-
Click Create Deployment

Diploi builds your production instance and gives you a live URL under the *.diploi.me domain. Next, let’s assign a custom domain for your Supabase deployment.
Configuring a custom domain for your Supabase project
To make your Supabase deployment available under your own domain:
-
Go to your Production deployment’s Options tab

-
Toggle off Use Auto-Generated Endpoints
-
Enable Use Custom Domain and input your domain (e.g.
db.mydomain.com)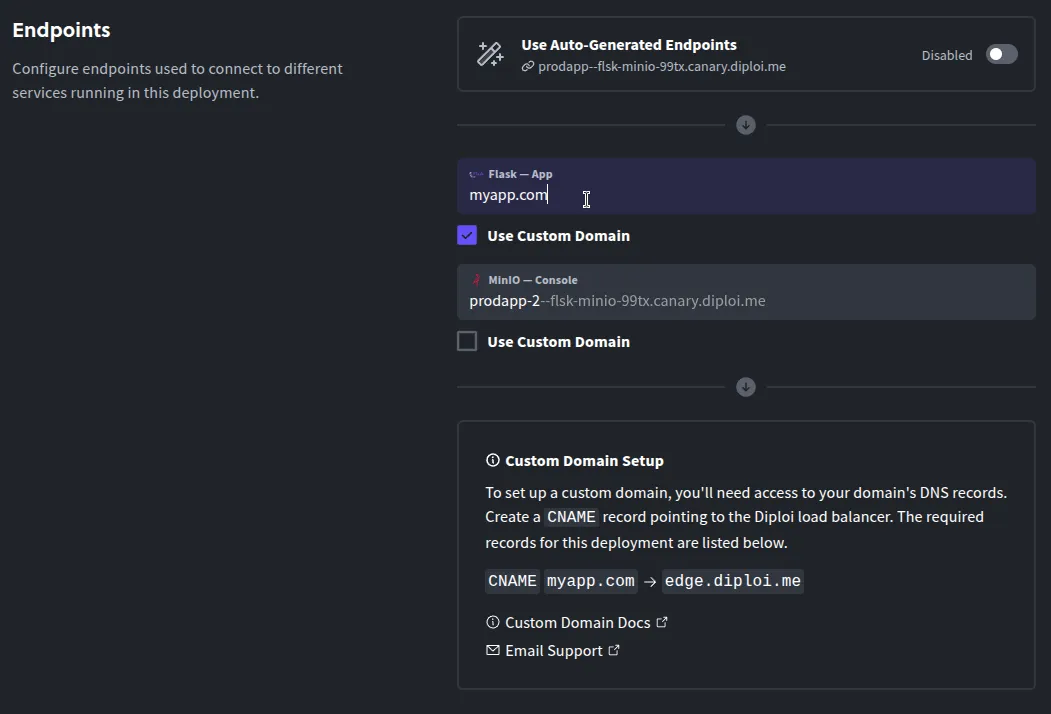
-
Save changes
-
In your domain DNS settings, create a CNAME pointing your hostname to
edge.diploi.com
Diploi handles the SSL certificates automatically. This change usually happens instantly, but sometimes the DNS updates can take up 30 minutes to propagate.
Trying out Supabase for the first time?
No need to commit to anything. You can test Supabase instantly on Diploi:
-
Trial without signing up Visit https://diploi.com/#StackBuilder, select Supabase, and click Launch
-
Quick Launch with your Diploi account Create a new project, and in Repository, choose Quick Launch
References
- Supabase Docs https://supabase.com/docs
- Diploi Supabase Component https://github.com/diploi/component-supabase
- Launch Supabase on Diploi https://diploi.com/component/supabase
- Diploi Components https://docs.diploi.com/building/components
- Custom Domain Guide: https://docs.diploi.com/deploying/custom-domain/